About
Contact
Podcasts
Women Worth Knowing Podcast
Gracious Words Podcast
Living Grace
Donate
Blog
Cheryl’s Notes
Cheryl’s Recipes
Resources
Joyful Life Lessons
Cheryl’s Books
CCCM Women’s Ministry
About
Contact
Podcasts
Women Worth Knowing Podcast
Gracious Words Podcast
Living Grace
Donate
Blog
Cheryl’s Notes
Cheryl’s Recipes
Resources
Joyful Life Lessons
Cheryl’s Books
CCCM Women’s Ministry
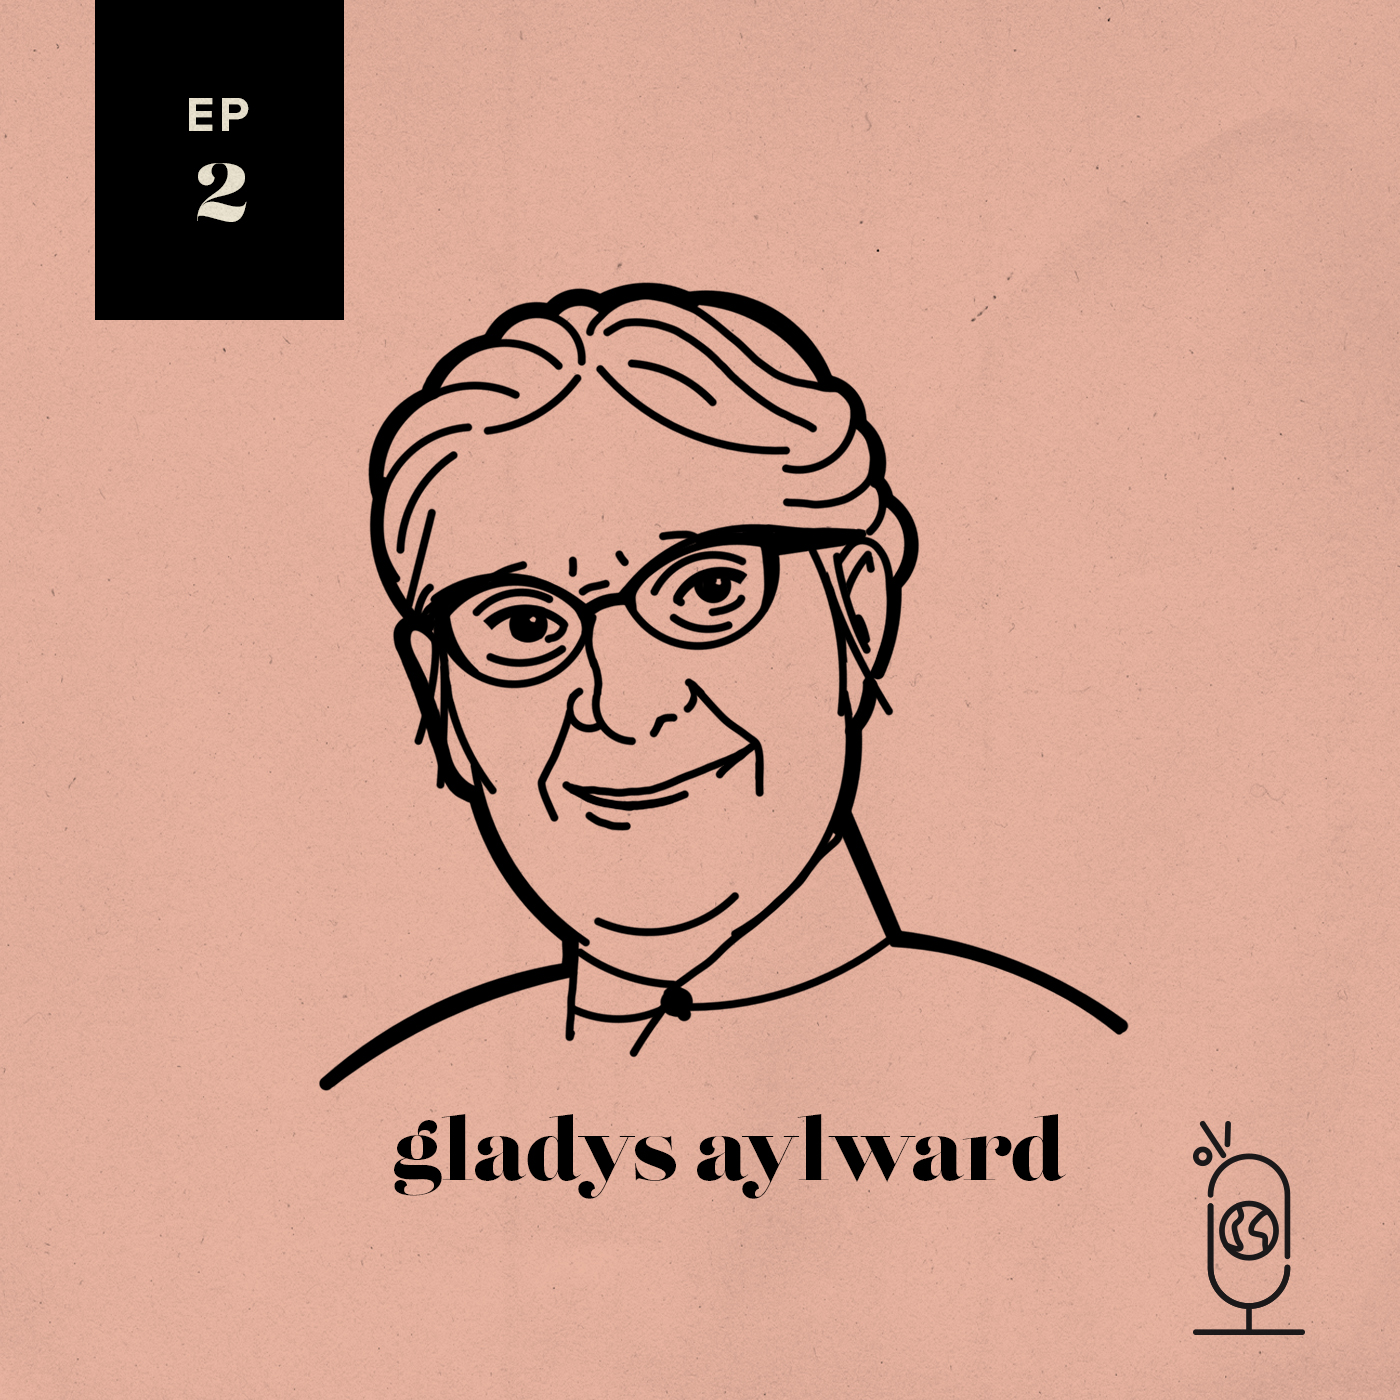
Gladys Aylward: Part 2
Gladys Aylward: Part 2
By
April 17, 2020
1
Search for: